Defendable Bases
A limited-time defense-event monument that appears on the map out of nowhere! Hold the line against waves of rotting zombies and protect the wounded key NPC, “General Newman.” Build barricades, set up turrets, and survive all 6 phases—and on the far side, hot rewards await!
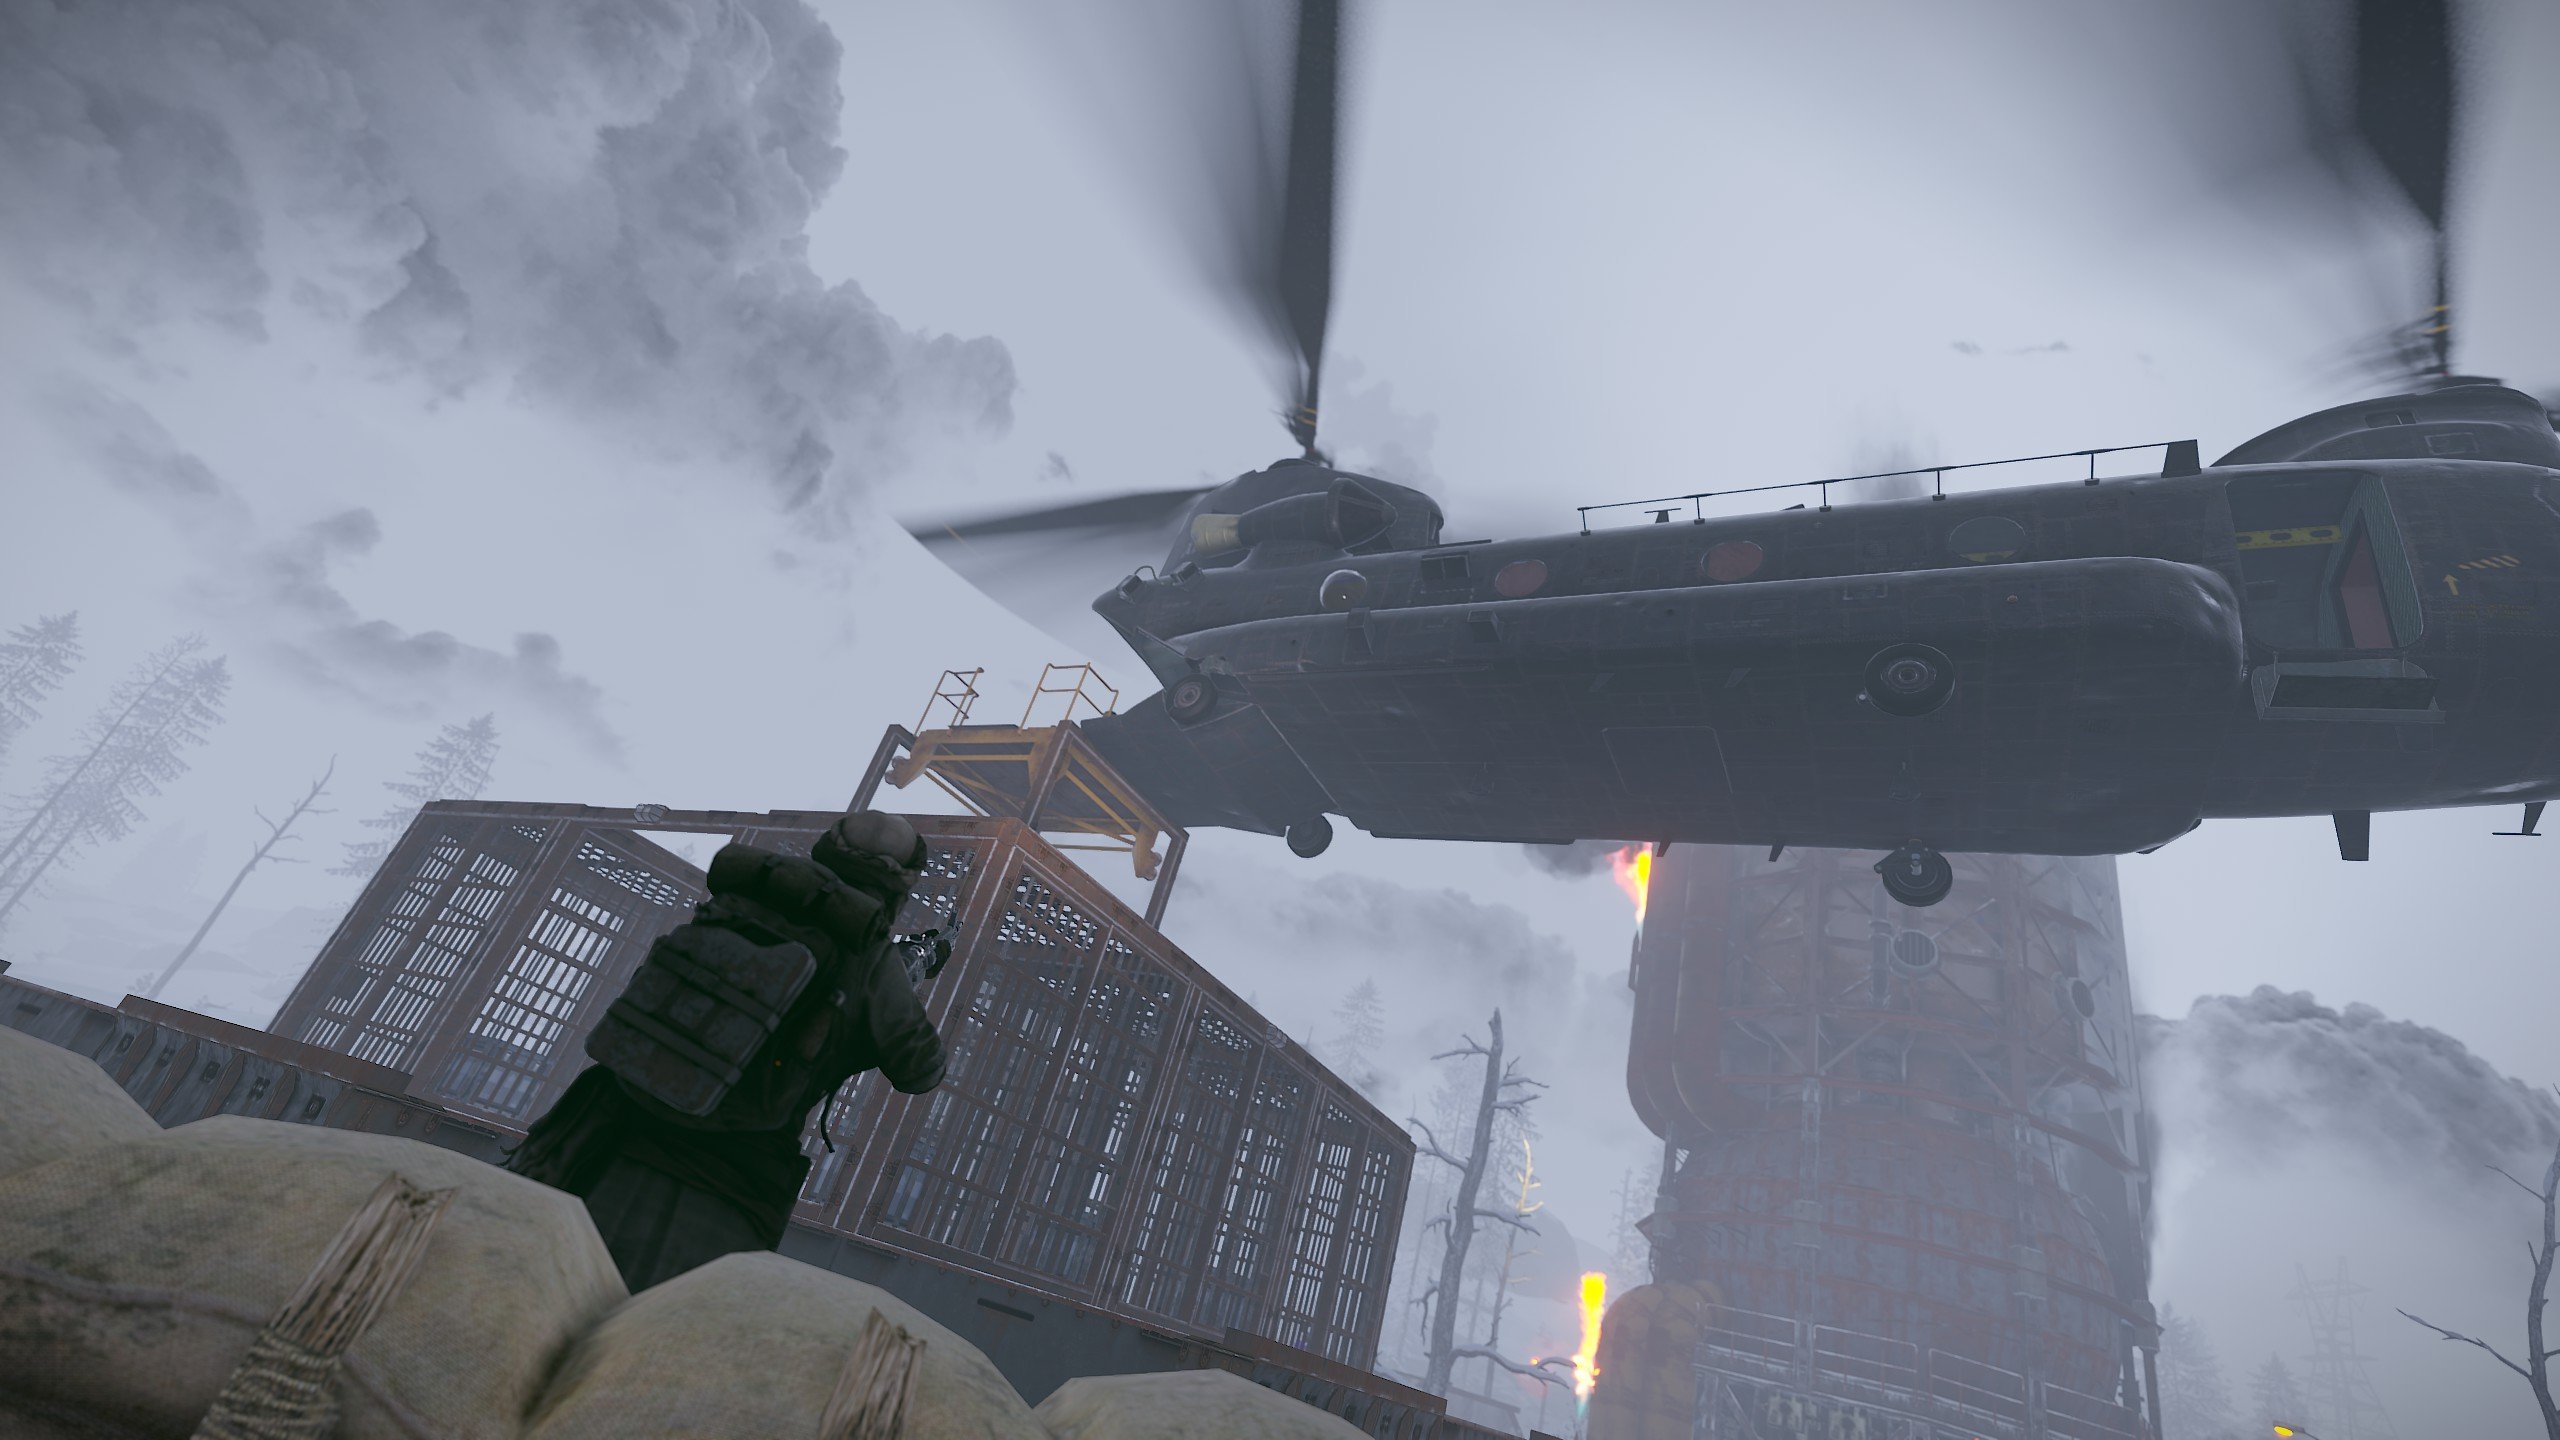
First, check the flow with video & images
See how it actually plays first
Watch the rhythm on video—entering the base, building a defensive line, and pushing back the waves of zombies. It makes it easy to grasp what you’re defending, even on a first look.
What kind of event is this?
📍Location
When the event starts, a red marker appears on the map. The base spins up at random inside monuments like the Airfield, Train Yard, Launch Site, and Power Plant.
📢Announcement
Event start is announced via global chat and an on-screen Notify alert. Don’t miss the message!
🤝How to play
Anyone can jump in. Team up and handle the waves. You can try it solo, but the more people, the easier it is to hold.
The flow ─ from start to clear
🗺 Find the base and rush over
Head to the base using the red marker on the map. The General has lost his escort and is badly wounded. The grid coordinates show in chat, so rush over using those!
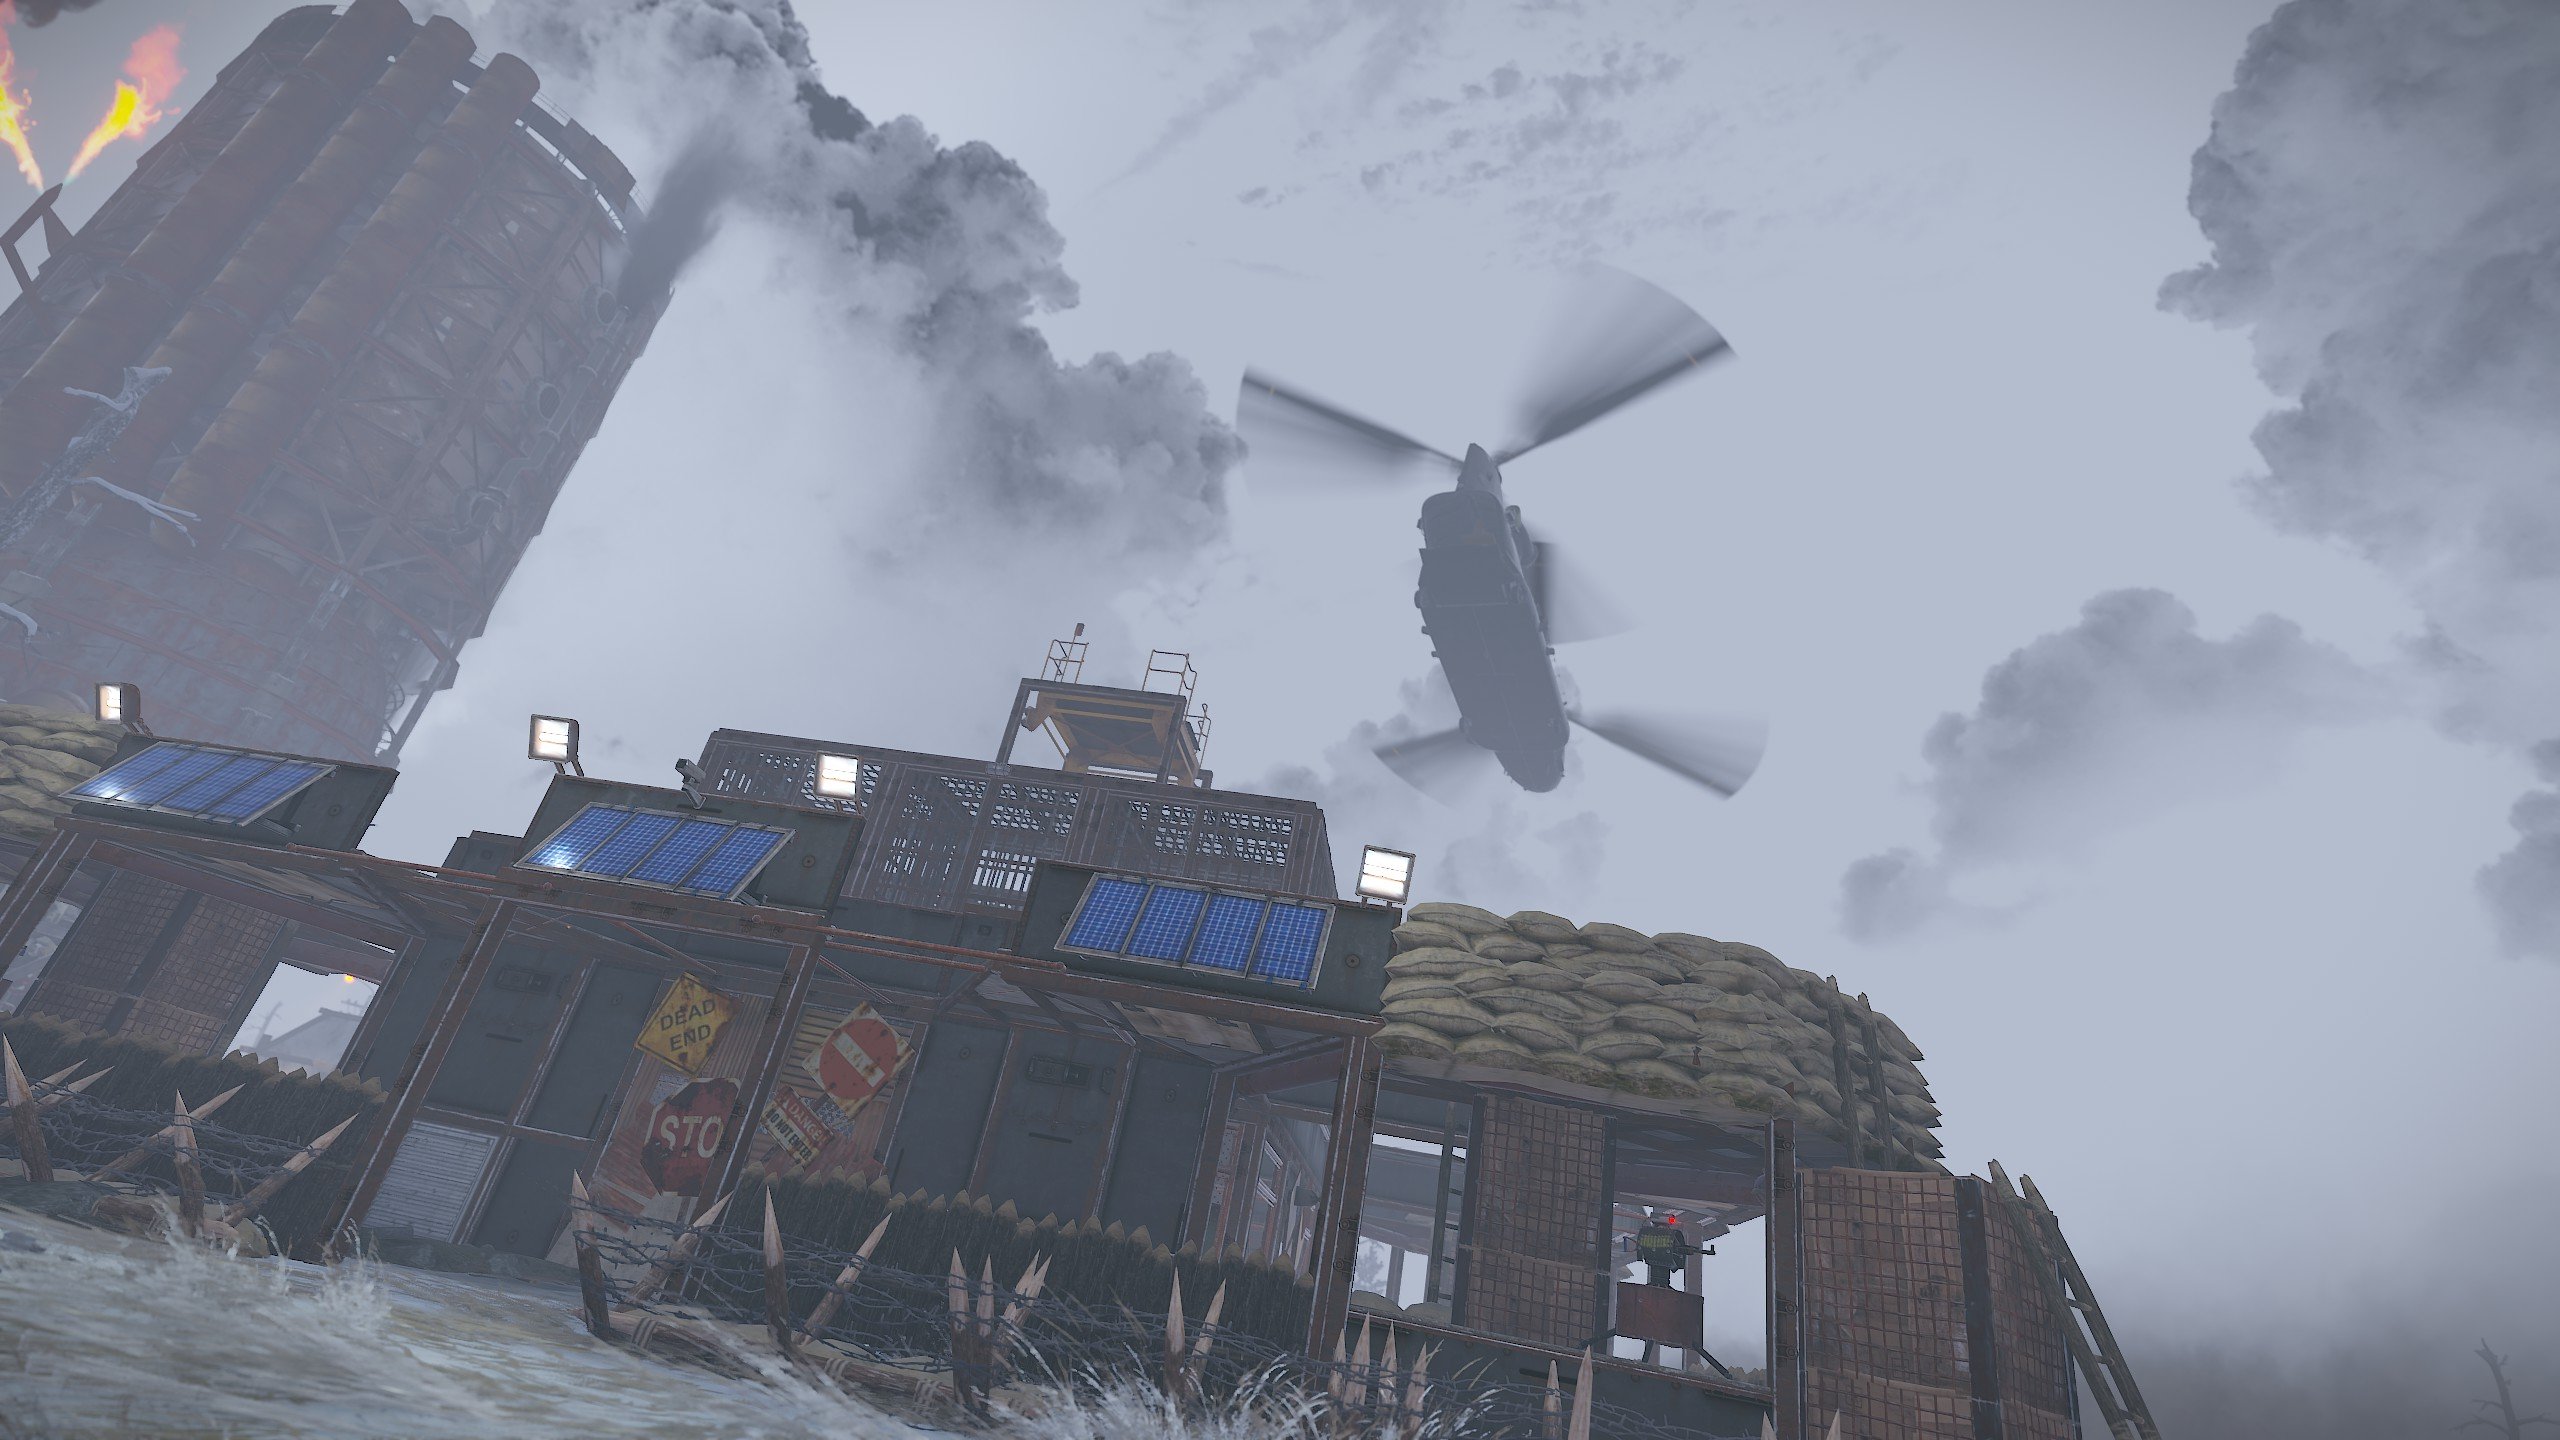
💻 Call the rescue chopper with the Computer Station
Operate the Computer Station terminal set up inside the base and hit “CALL FOR ASSISTANCE.” The moment you press it, the rescue chopper heads for the island and the defense begins! This terminal is the control hub for everything—buying defenses, starting combat phases, and calling for help.
* If no one calls for help, the base collapses in up to 20 minutes and the event ends. Call early!
🛠 Fortify with barricades and turrets
There’s a prep window before each phase (about 60 sec from phase 2 on). Use it to block entrances with barricades and place/resupply turrets and traps. During prep, air-defense support slightly reinforces the base!
* Only the first phase has almost no prep window = combat right away! It’s hugely important to finish your prep BEFORE you press the call for help.
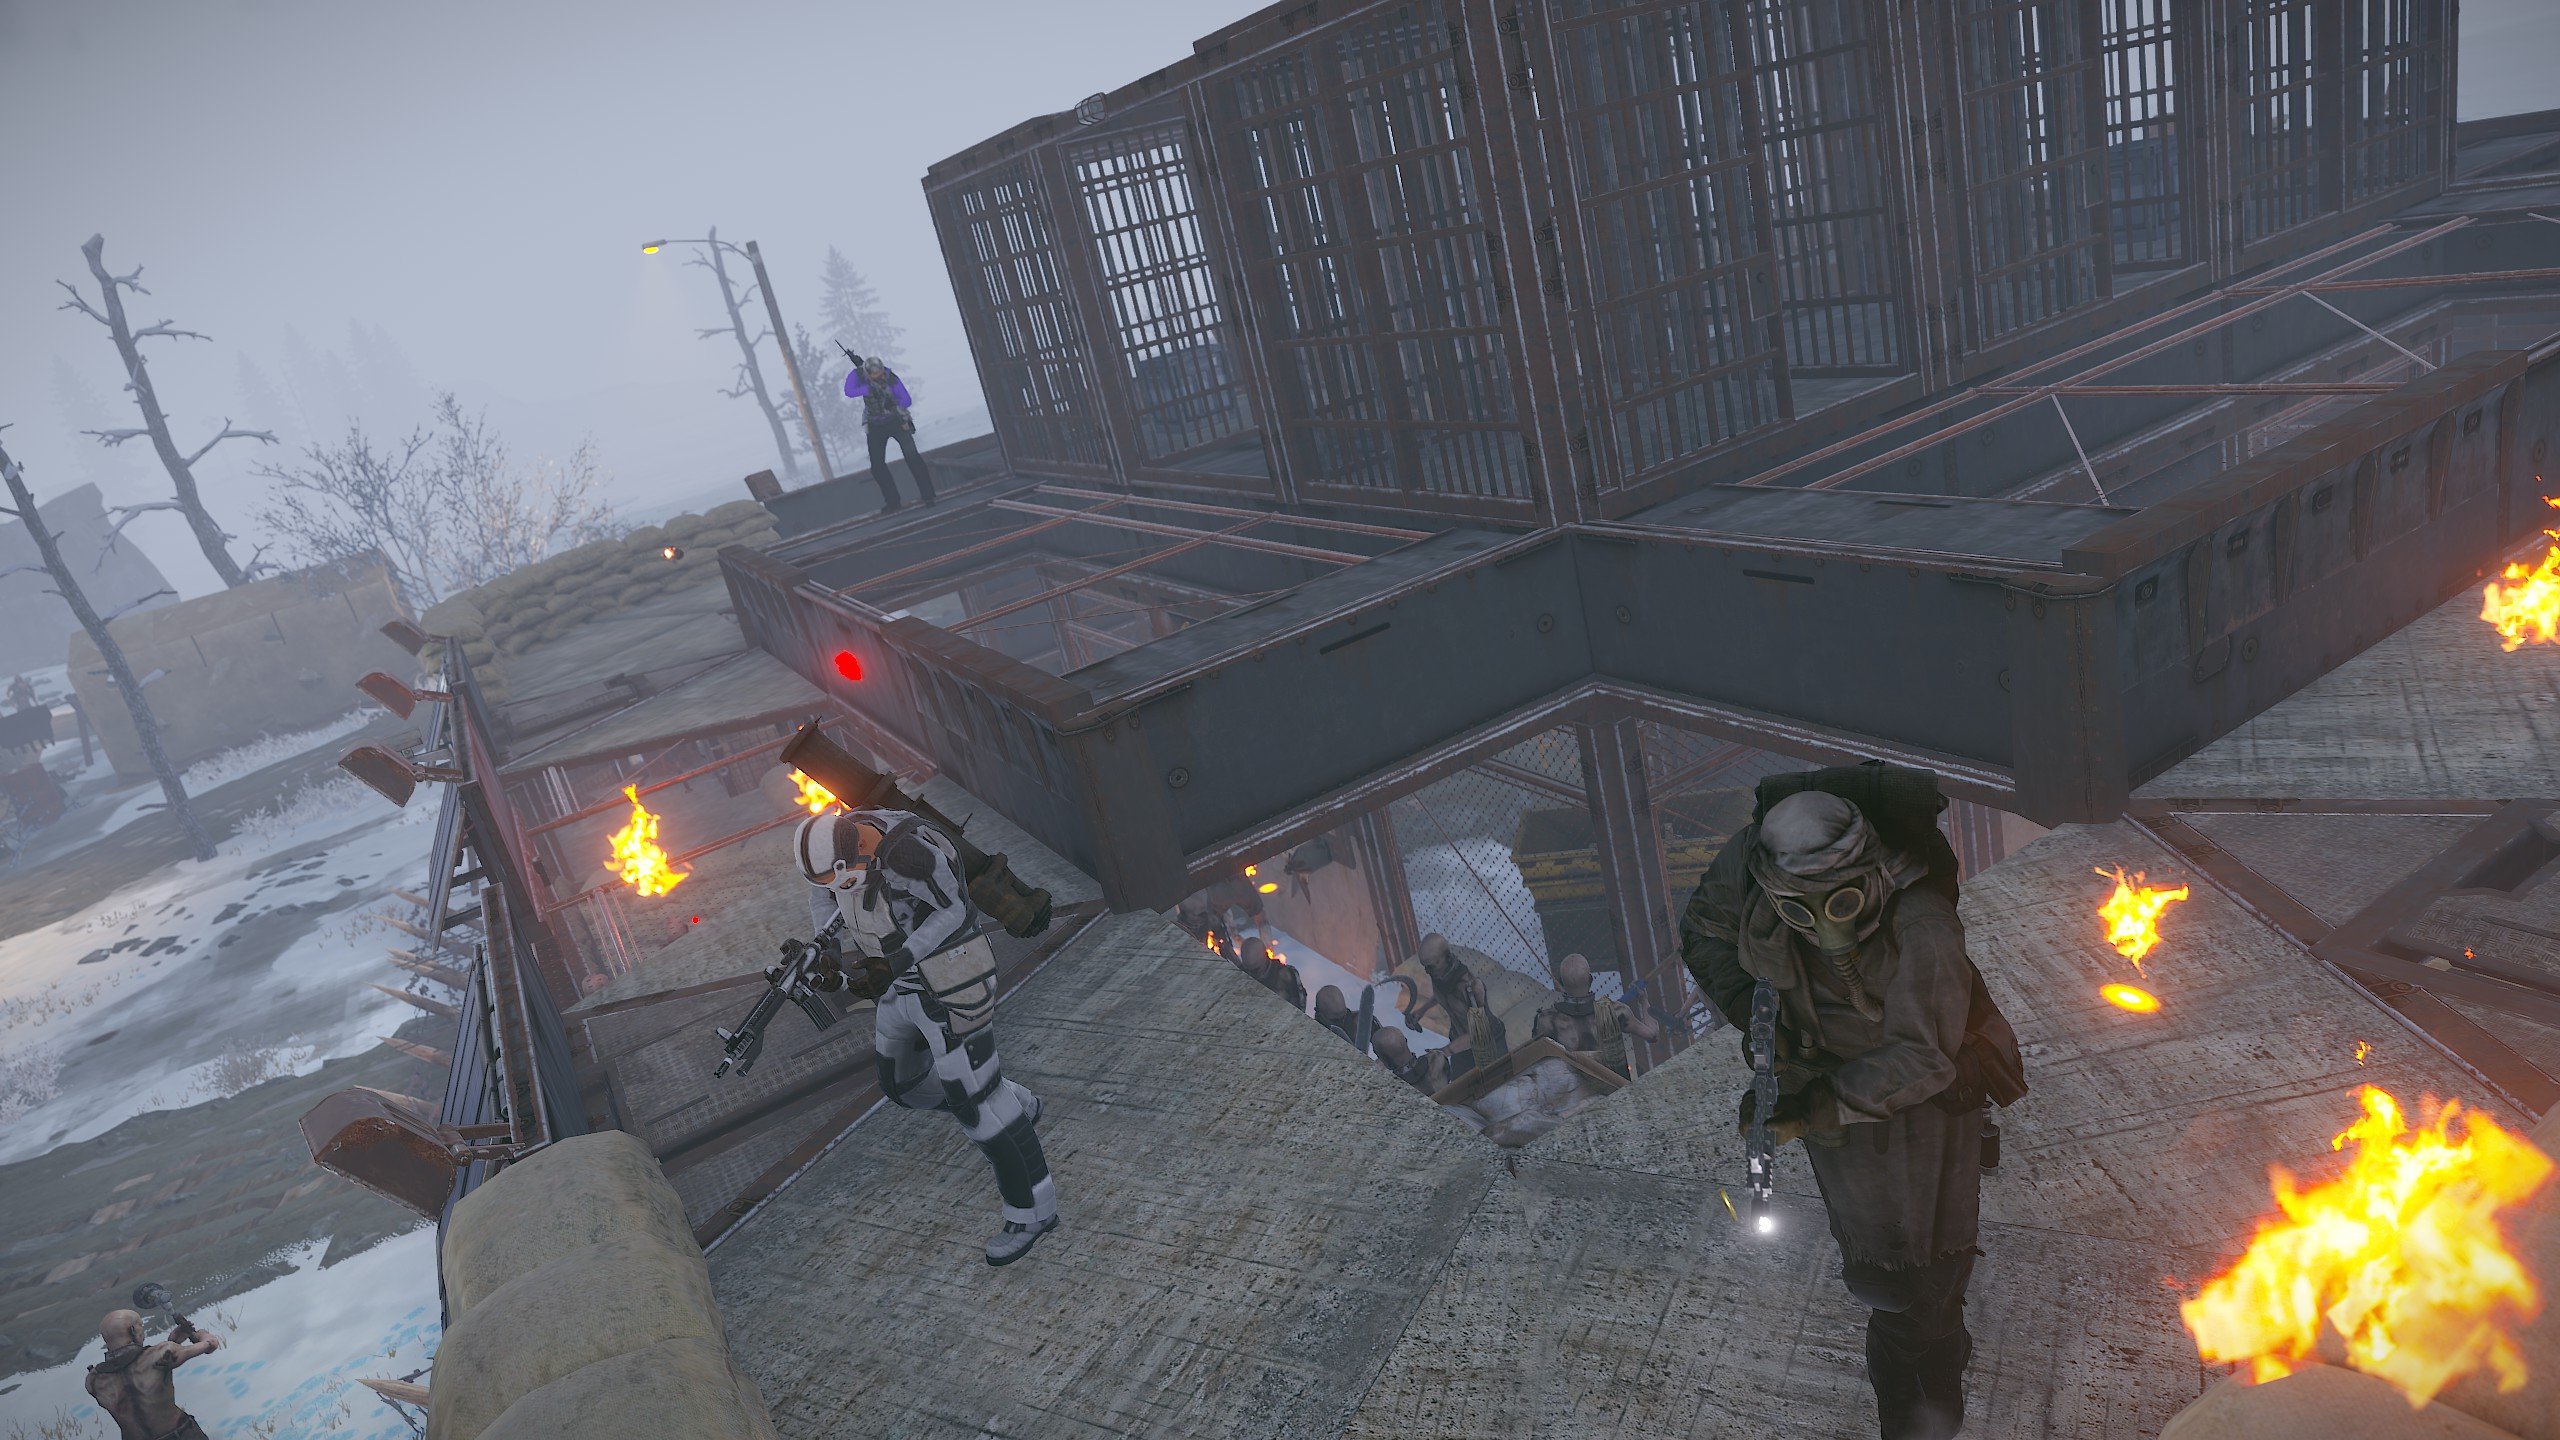
🧟 Weather the waves of zombies
When a wave hits, the zombies attack all at once! Shoot, shoot, and keep shooting so your barricades don’t break. Above all, not letting the General die is the top priority. All 6 waves—the later ones get nastier in both numbers and variety.
🎁 Survive a wave and a door opens
Each time you survive a wave, one supply-room door opens. The crates inside hand out loot like scrap, ammo, and Elite/Bradley/Heli crates. The further you go, the richer the contents!
🚁 Survive the final wave and get the General out
Hold off the last wave and the rescue chopper arrives at the base. If the General escapes safely, mission success! After he’s out, the base packs up (collapses) shortly after, so don’t forget that final loot grab.
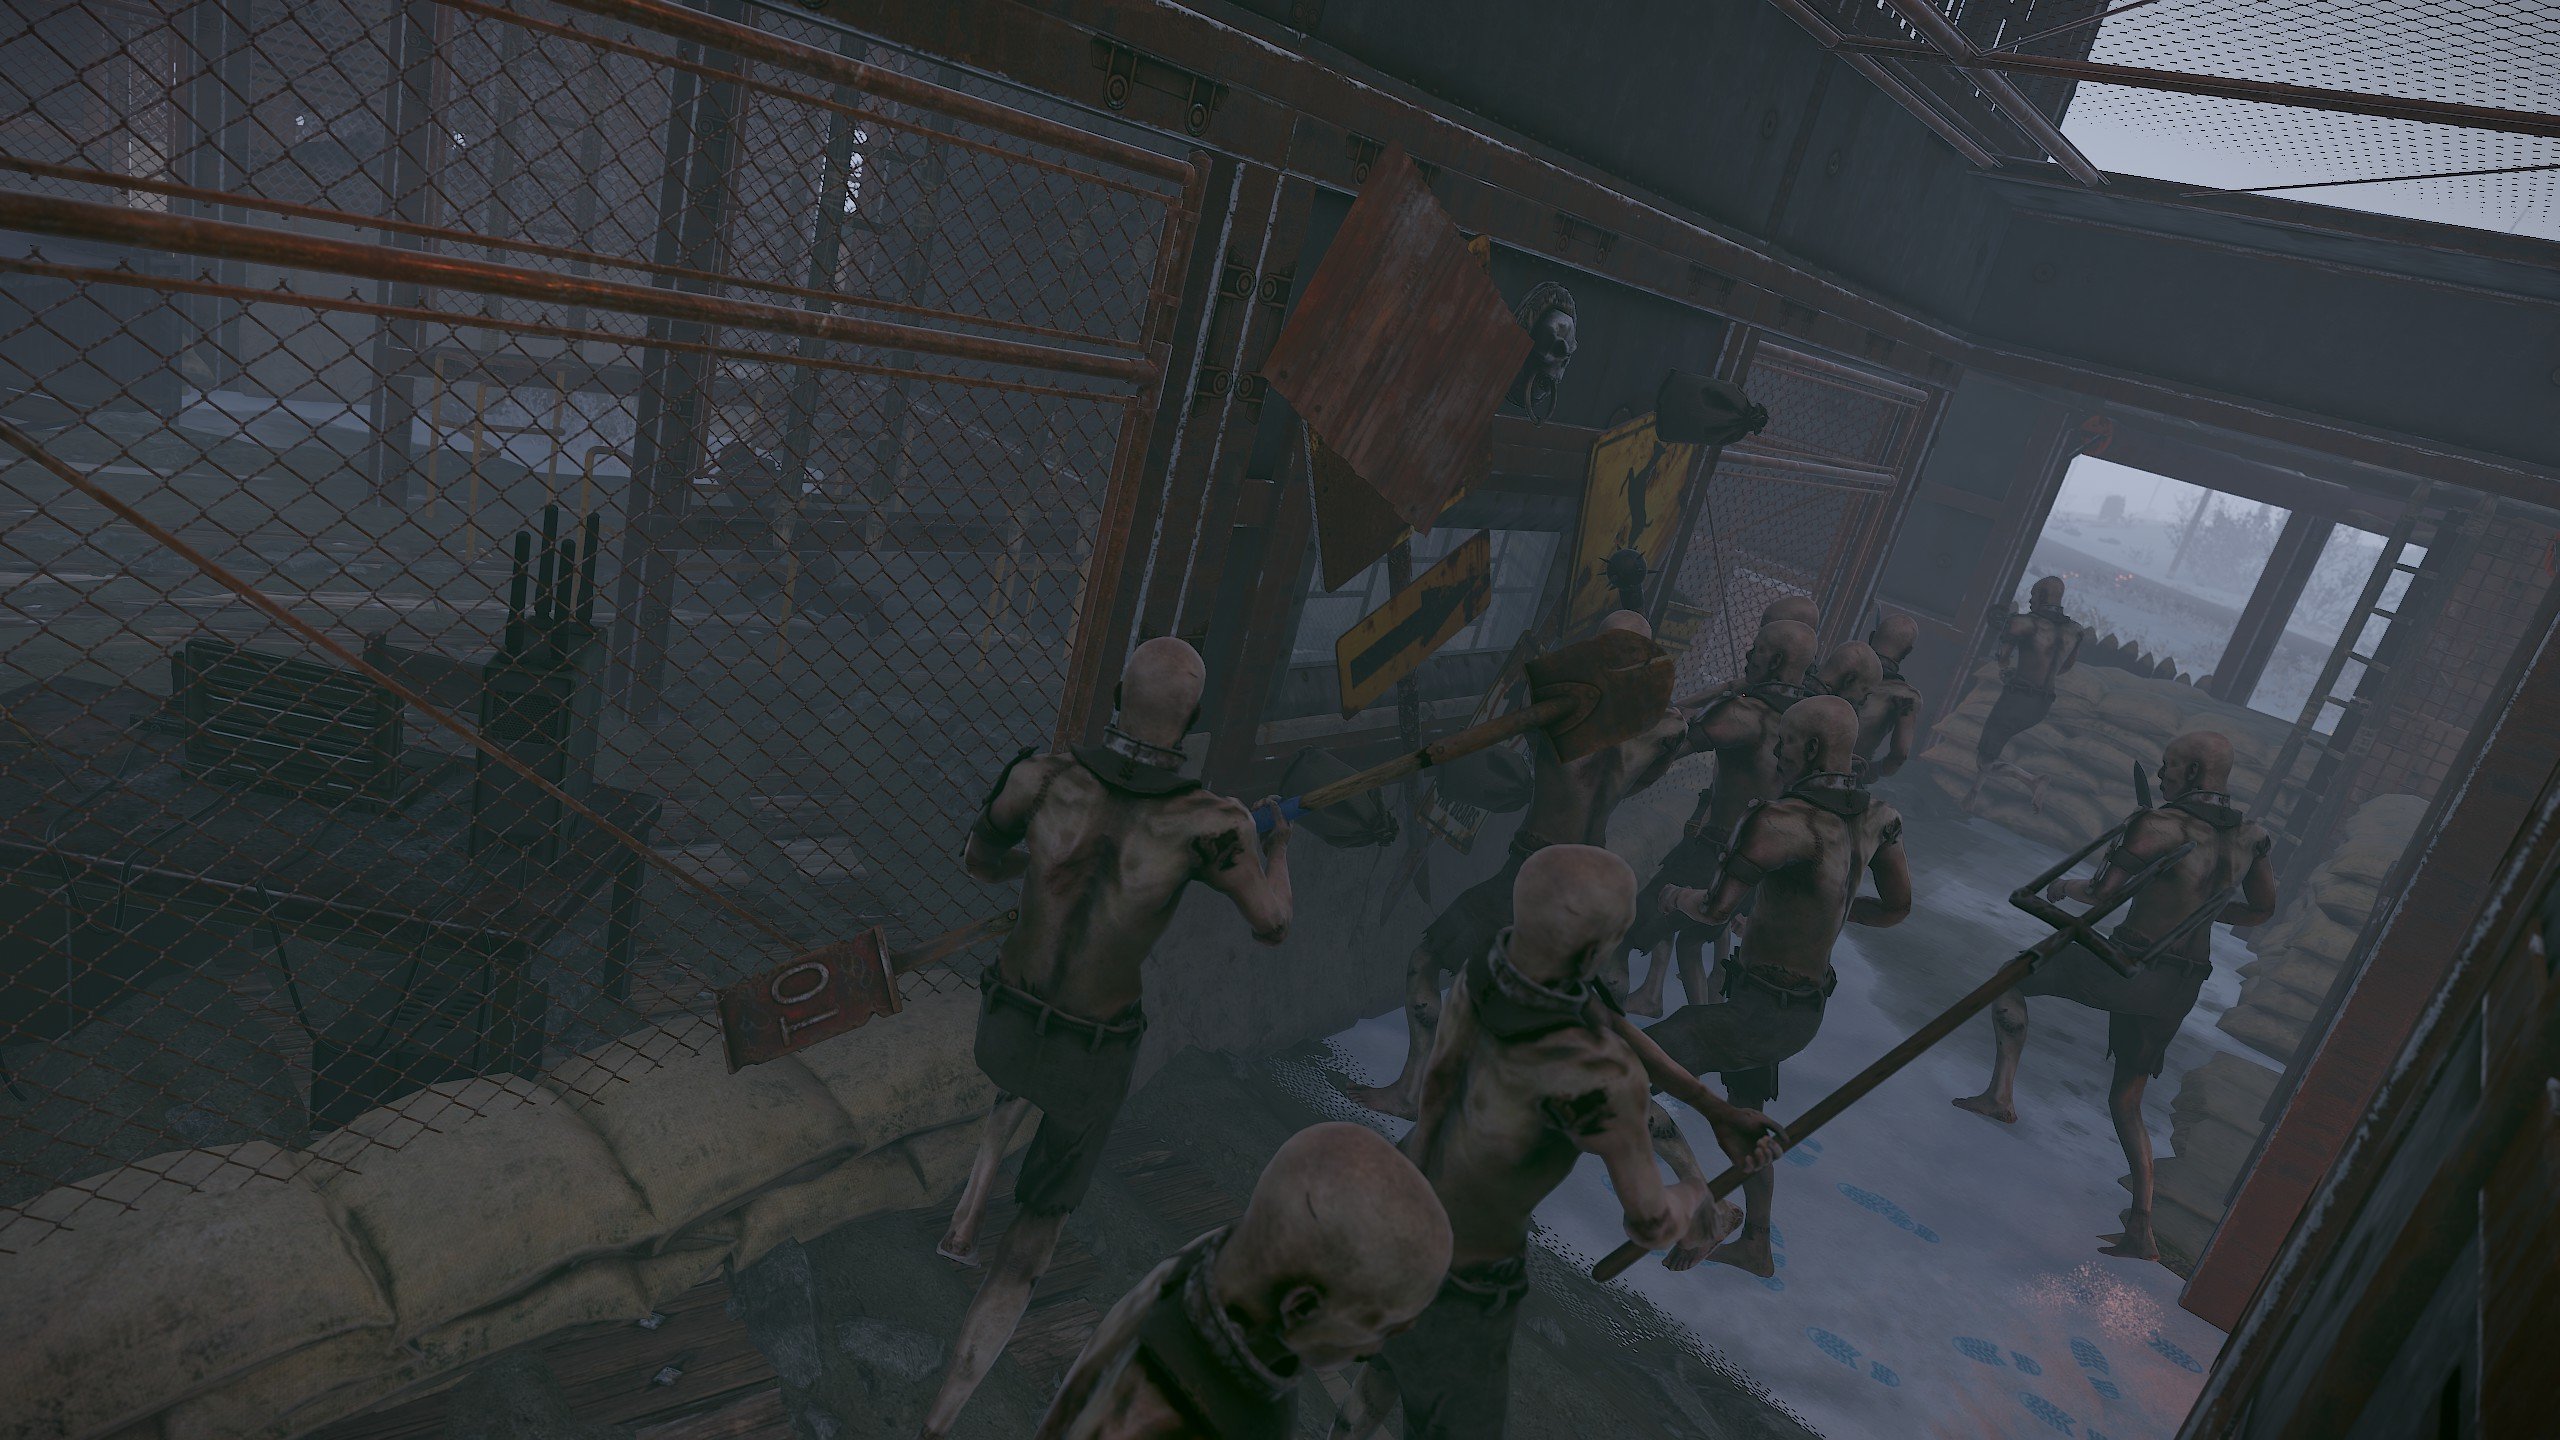
The zombies coming for you
🔨 Sledge
- HP30
- WeaponMelee (blunt, blades, etc.)
- Move speedFast (8.0)
- Sometimes a Bean Can grenade15%
🏹 Blazer
- HP30
- WeaponFire-arrow bow + pipe shotgun
- Move speedFast (7.5)
- RangeLong (fires from afar)
🛡 Juggernaut
- HP120
- WeaponHMLMG (heavy MG)
- Move speedSlow (5.0)
- Just tanky. Prioritize chipping it down
💥 Bomber
- 200 damage to barricades
- HP60
- To the General 60 / to players 30
- Take it out at range before it gets close!
Bomber is your top-priority target! Its suicide blast shaves a whole 200 damage off a barricade, so the trick is to shoot it from afar before it lines up. The Juggernaut is tanky but slow, so chip it down gradually through the barricade.
Wave progression table
| Wave | Prep time | Combat time | Main enemy lineup |
|---|---|---|---|
| 1 | 5 sec | 60 sec | Sledge ×5 / Blazer ×2 |
| 2 | 60 sec | 80 sec | Sledge ×8 / Blazer ×2 / Bomber ×1 |
| 3 | 60 sec | 100 sec | Sledge ×11 / Blazer ×2 / Bomber ×1–2 |
| 4 | 60 sec | 120 sec | Sledge ×7 / Blazer ×2 / Bomber ×1–2 / Juggernaut ×2 |
| 5 | 60 sec | 140 sec | Sledge ×7 / Blazer ×2 / Bomber ×1–2 / Juggernaut ×2 |
| 6 | 60 sec | 180 sec | Sledge ×7 / Blazer ×2 / Bomber ×1–2 / Juggernaut ×2 |
The General you must protect has 1000 HP. Zombies that break through the barricades attack the General directly. Don’t leave gaps—seal any open entrance immediately!
Defenses ─ what to build?
🖥How to buy (from the Computer Station)
Buy defenses from the Computer Station inside the base. Here’s the process 👇
- Access the Computer Station
- Pick the defense you want and buy it
- The item lands in the inventory on the left of the screen
- Check the box on the item in the inventory
- Press “Confirm”
- Get the item → now you can place it!
Just buying it won’t get it to you! Be sure to press “Confirm” at the end. Forget, and you won’t receive the item—watch out.
Also, defenses aren’t free; they need server-specified materials like scrap, metal fragments, and HQM. You can’t buy without enough materials, so gather them as you go.
🧱 Barricades (the shield that blocks entrances)
There are 12 entrances in all. Place barricades to block zombie entry. Hit them with the Hammer to repair by paying resources. Higher grade = sturdier!
At the start, the PC holds Tier0 ×2, Tier1 ×2, Tier2 ×2 (and +30% for Tier3 ×2).
| Grade | Durability | Buy cost | Repair cost (per hit) | Heal |
|---|---|---|---|---|
| 0 | 500 | Wood 50 | Wood 30 | +50 |
| 1 | 1000 | Wood 100 | Wood 50 | +50 |
| 2 | 1500 | Wood 150 + Stone 150 | Wood 50 + Stone 50 | +75 |
| 3 | 2000 | Wood 200 + Metal Frags 200 | Wood 50 + Metal Frags 100 | +100 |
| 4 | 2500 | Wood 250 + HQM 10 | Wood 50 + HQM 2 | +100 |
🔫 Turrets & traps (the buddies that shoot for you)
Auto Turret
Auto-rifle turrets lined up at the entrances. Placing them unlocks heavy entrance coverage! Comes with 400 rifle rounds as starting ammo.
Resupply ammo 100 rounds at a time with metal frags, gunpowder, sulfur, etc. (max 400).
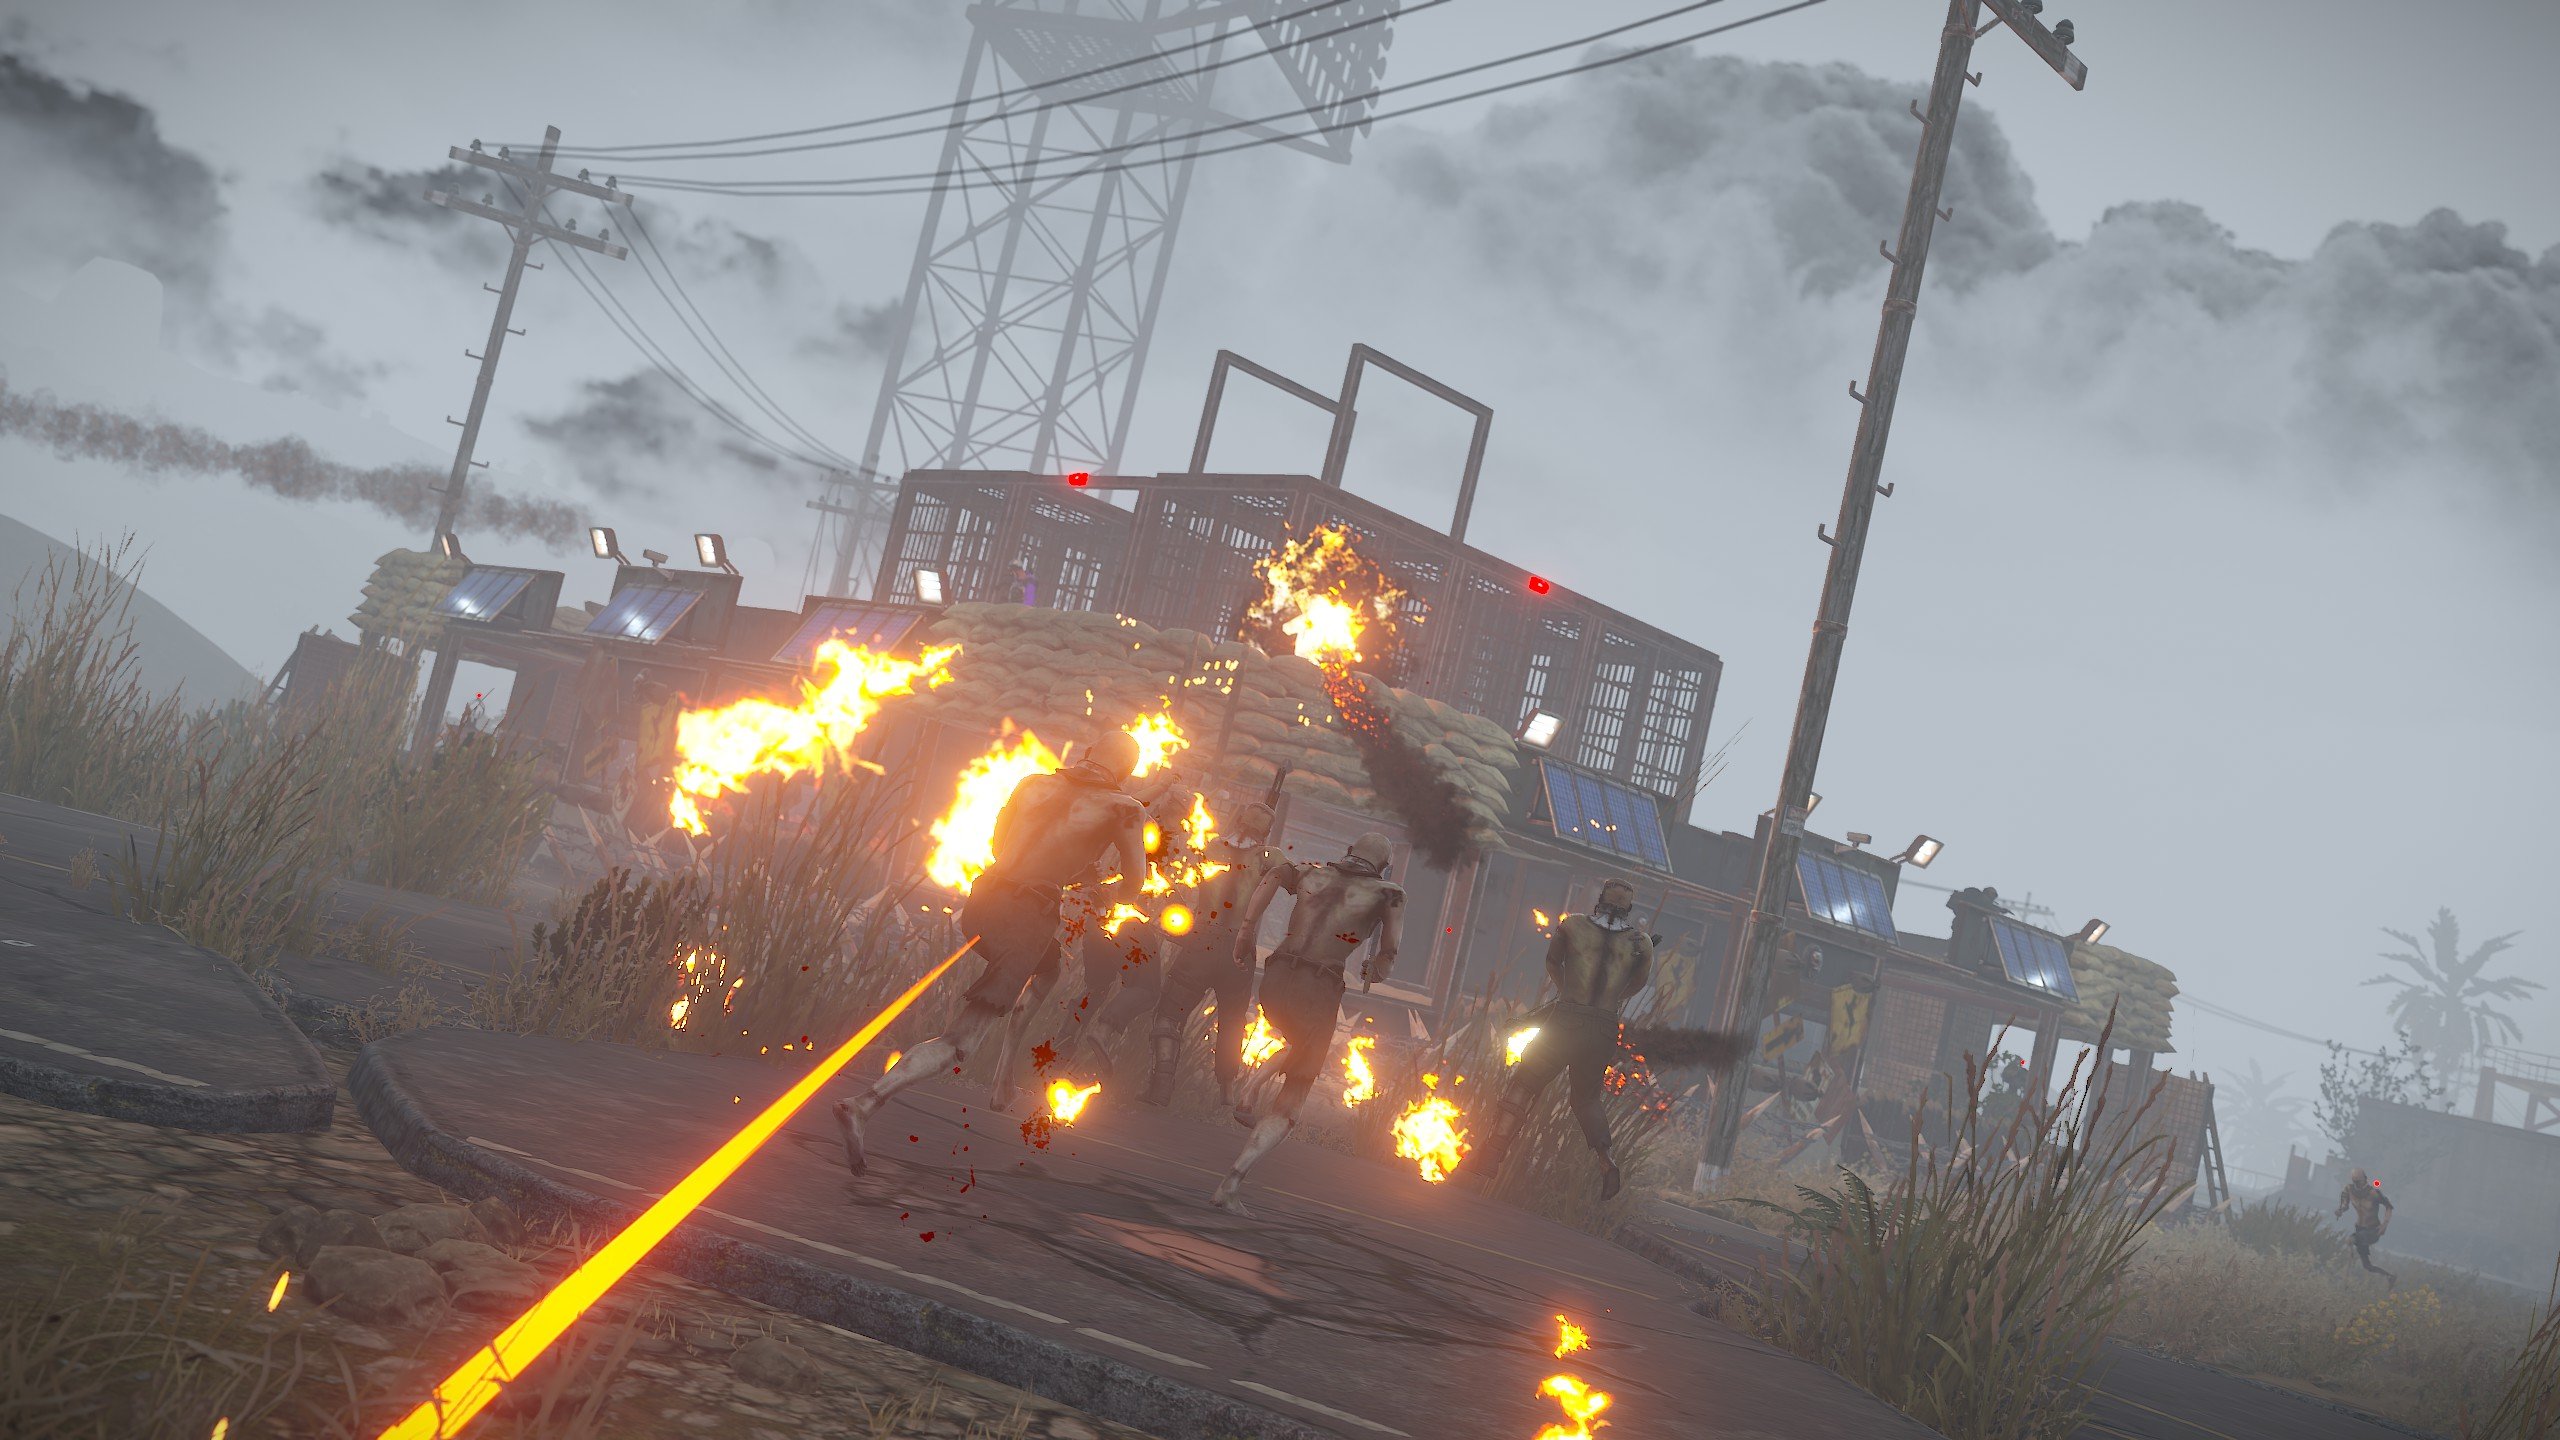
Flame Turret
An area-focused turret that burns approaching enemies. Crazy effective against packs of Sledges charging in tight!
Resupply 100 at a time with 50 Low Grade Fuel (max 150). Comes with 50 starting fuel.
Shotgun Trap
A trap that blasts point-blank buckshot at enemies trying to slip through a corridor. Placement in narrow corridors is everything!
Resupply 50 shells at a time with 50 stone + 50 gunpowder (max 250). Comes with 50 starting shells.
A recycler, repair bench, and workbench are also running inside the base! Process gathered resources on the spot and put them toward defense and resupply.
Earn rewards with side missions
🚩Capture mission (early waves)
A capture point appears, lit up with a siren, flashing lights, and fireworks. Stand in its radius and hold for a set time to capture it. Complete it the required number of times and the reward unlocks. Holding the capture zone while you fight is hectic but a blast!
🔑Password mission (later waves)
Grab password hints from the drawers in the opened supply rooms. Enter the correct password at the Control Center PC. Get them all right and you can claim the side-mission reward at the center! Check the “NOTES” tab.
Mission rewards are loaded with Large Medkits, syringes, F1 Grenades, scrap, rifle ammo, and more. The further the waves go, the more reward you get!
Win conditions & fail conditions
🏆 Victory!
Survive all 6 waves and get the General out safely on the rescue chopper to clear it. The supply-room crates, the mission rewards, the final base loot… take it all and bask in the win!
💀 Failure…
If the General is killed, the rescue chopper won’t come and the base collapses shortly after. Leave no gaps, let the General live!
📋Fail conditions summary
The event fails on any of the following 👇
- General Newman’s HP hits 0
- Time runs out with no one calling for help
- Other wipe conditions (depends on server settings)
Tips & cautions for winning
In the 60 sec from wave 2 on, rebuild broken barricades and resupply turrets all at once. Once the fight starts, you won’t have a free hand!
A suicide unit that does 200 damage to barricades. The golden rule is to drop it at range before it lines up.
Limit the corridors you use and concentrate barricades & turrets. The fewer fronts you defend, the easier it gets.
A turret without ammo is just decoration. Cycle resources and resupply often.
You can’t teleport into the event zone. Get there on your own two feet.
Removal commands like /remove can’t be used inside the event, so be careful.
Leave it and the base collapses in up to 20 minutes. Once you’re in, call the rescue chopper at the PC first.
Run it with a “repair role,” a “Bomber-sniping role,” and a “resupply role” for rock-solid stability!
What you protect isn’t the equipment—it’s the General. Build your defensive line aware of which routes let zombies reach him.
Turrets work best on the path toward the General rather than just at entry points. Cover that last line of defense well!
In the later phases enemies get tankier and more numerous. Stalling them with barricades and traps is steadier than a head-on fight.
The first round has almost no prep time. Finish placing barricades before you call for help.